Wednesday, February 4, 2015

Christmas Leftovers Winner and Top 3

Hello Everyone!

Pamellia here to bring you the Winner and Top 3 from my 'Christmas Leftovers' Challenge.

I was just blown away by the spectacular projects that I saw last month! I've never seen so many crafty uses for leftover bits in all my life! I would like to thank everyone who raided their recycle bin and turned garbage into art! What a talented group of artists you all are!

First let's announce the randomly drawn winner of the prize donated by our wonderful sponsor last month Nicecrane Designs:


The lucky winner selected by Random.org is...

 Karen P

Congratulations Karen!!! We hope you have a lot of fun with your prize!
*******************************************************


And now on to my 'Christmas Leftovers' Winner and Top 3...

The winner of my 'Christmas Leftovers' challenge is -


I fell in love with this project the moment I saw it! Such a gorgeous card full of frosty layers and shimmery bits, a work of art by anyone's standards! Glamour and grunge married together, what a beautiful sight! There are so many wonderful textures and frosty metallics, I dare you to not to ooh and ahh!

Sara really captured the spirit of my challenge, she used so many leftover Christmas bits on her project and in such creative ways. Acetate packages, bit and bobs from the Christmas tree, gift packaging...every piece of this stunning card came from something that might otherwise have ended up in the trash.

There was just no denying the work, creativity and brilliance that went into this stunning card! Every detail thought out and carried out with incredible style and flair!

Well done Sara Emily and Thank You!


And now for my Top 3 (in no particular order)


Cec's amazing sewing kit was originally a Christmas gift card tin! Can you believe that, what an amazing use of an item that would normally go in the garbage! I just love the aqua and gold palette and there is so much detail on such a tiny surface, absolutely fabulous project from top to bottom!


Niki's steampunk work of art was made out of lots of leftover Christmas bits, including one of my favourite ideas for recycling ever...her 2014 calendar!!! WHAT!!! Absolutely incredible! There are so many wonderful textures and details here that I had a hard time looking away once I saw it! Spectacular job!


RosA


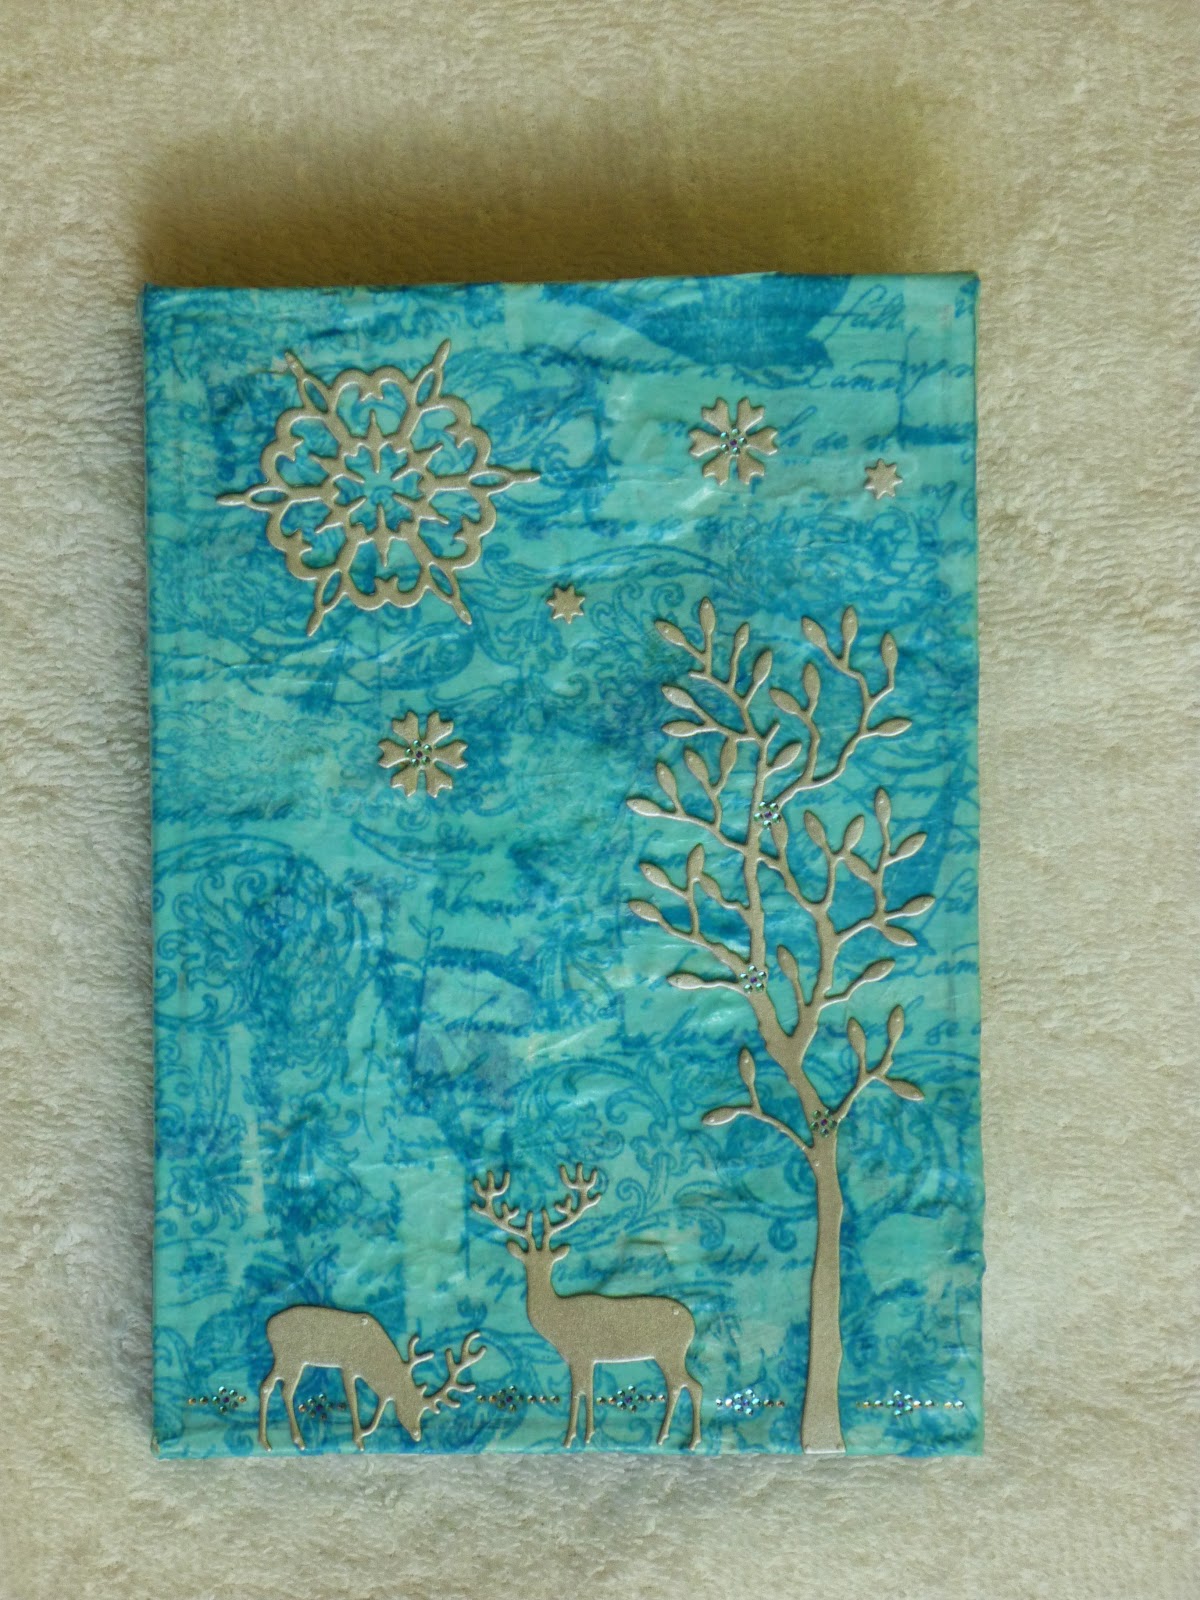
I almost fell over when I discovered that this gorgeous wintery book was actually made out of a leftover shortbread cookie box and textured with leftover tissue paper!! AMAZING!! I just love the frosty colours and the wonderful techniques used to create this fabulous project!


***********************************************


Thanks so much to all who entered my 'Christmas Leftovers' challenge. There were so many wonderful projects to choose from, I really wish I could have featured more of them!

You could be here next month as our Winner or Top 3 - Just hop over to Julia's 'Tic Tac Toe' challenge and have a go! You could even win a prize from this month's sponsor
Tando Creative!

Remember, you have to be in it to win it!
Hugs, Pamellia :)

Sunday, February 1, 2015

Tic Tac Toe. . . Let's Have Some Fun!


Good morning everyone. Julia here to share the February challenge at Our Creative Corner. I've decided to go for a Tic Tac Toe grid which gives lots of scope for inspiration! Here's the grid and challenge brief for you:


For this challenge please:


  • choose one line from the grid shown. This can be a horizontal, vertical or diagonal line but you must select the middle square as one of your choices. 
  • What you make is your choice but please ensure that the three items you have chosen are clearly visible on your make. 
  • Please state in your post which line you have chosen. 
  • Inks, stains, sprays etc can be used as necessary on your project.


Please  read through our rules - we only have a few but it's best to be clear about everything.

Now let's have a look at the wonderful inspiration provided for you by the Design Team:


I've used the line: Die cuts, Stamps & embossing folders (inside my box). This is a little pewter effect gift box ideal for Valentines Day or any other special occasion.

 **************************************

Candice 

I chose the Metal, Stamps and Paste Medium and created a gratitude journal cover.
 I used 2 different kinds of paste medium to create the textural effects.

 **************************************

I chose: paint, stamp and stencil for this fun challenge. I'm trying new color combos 
I have not used before and I'm enjoying the outcome.

 **************************************

This was not a very easy game of Tic-Tac-Toe to play - there were so many fun choices!
 I finally made my creative Tic-Tac-Toe move horizontally with: Paints, Stamps & Stencils to create the first page of my very first art journal!
  
 **************************************


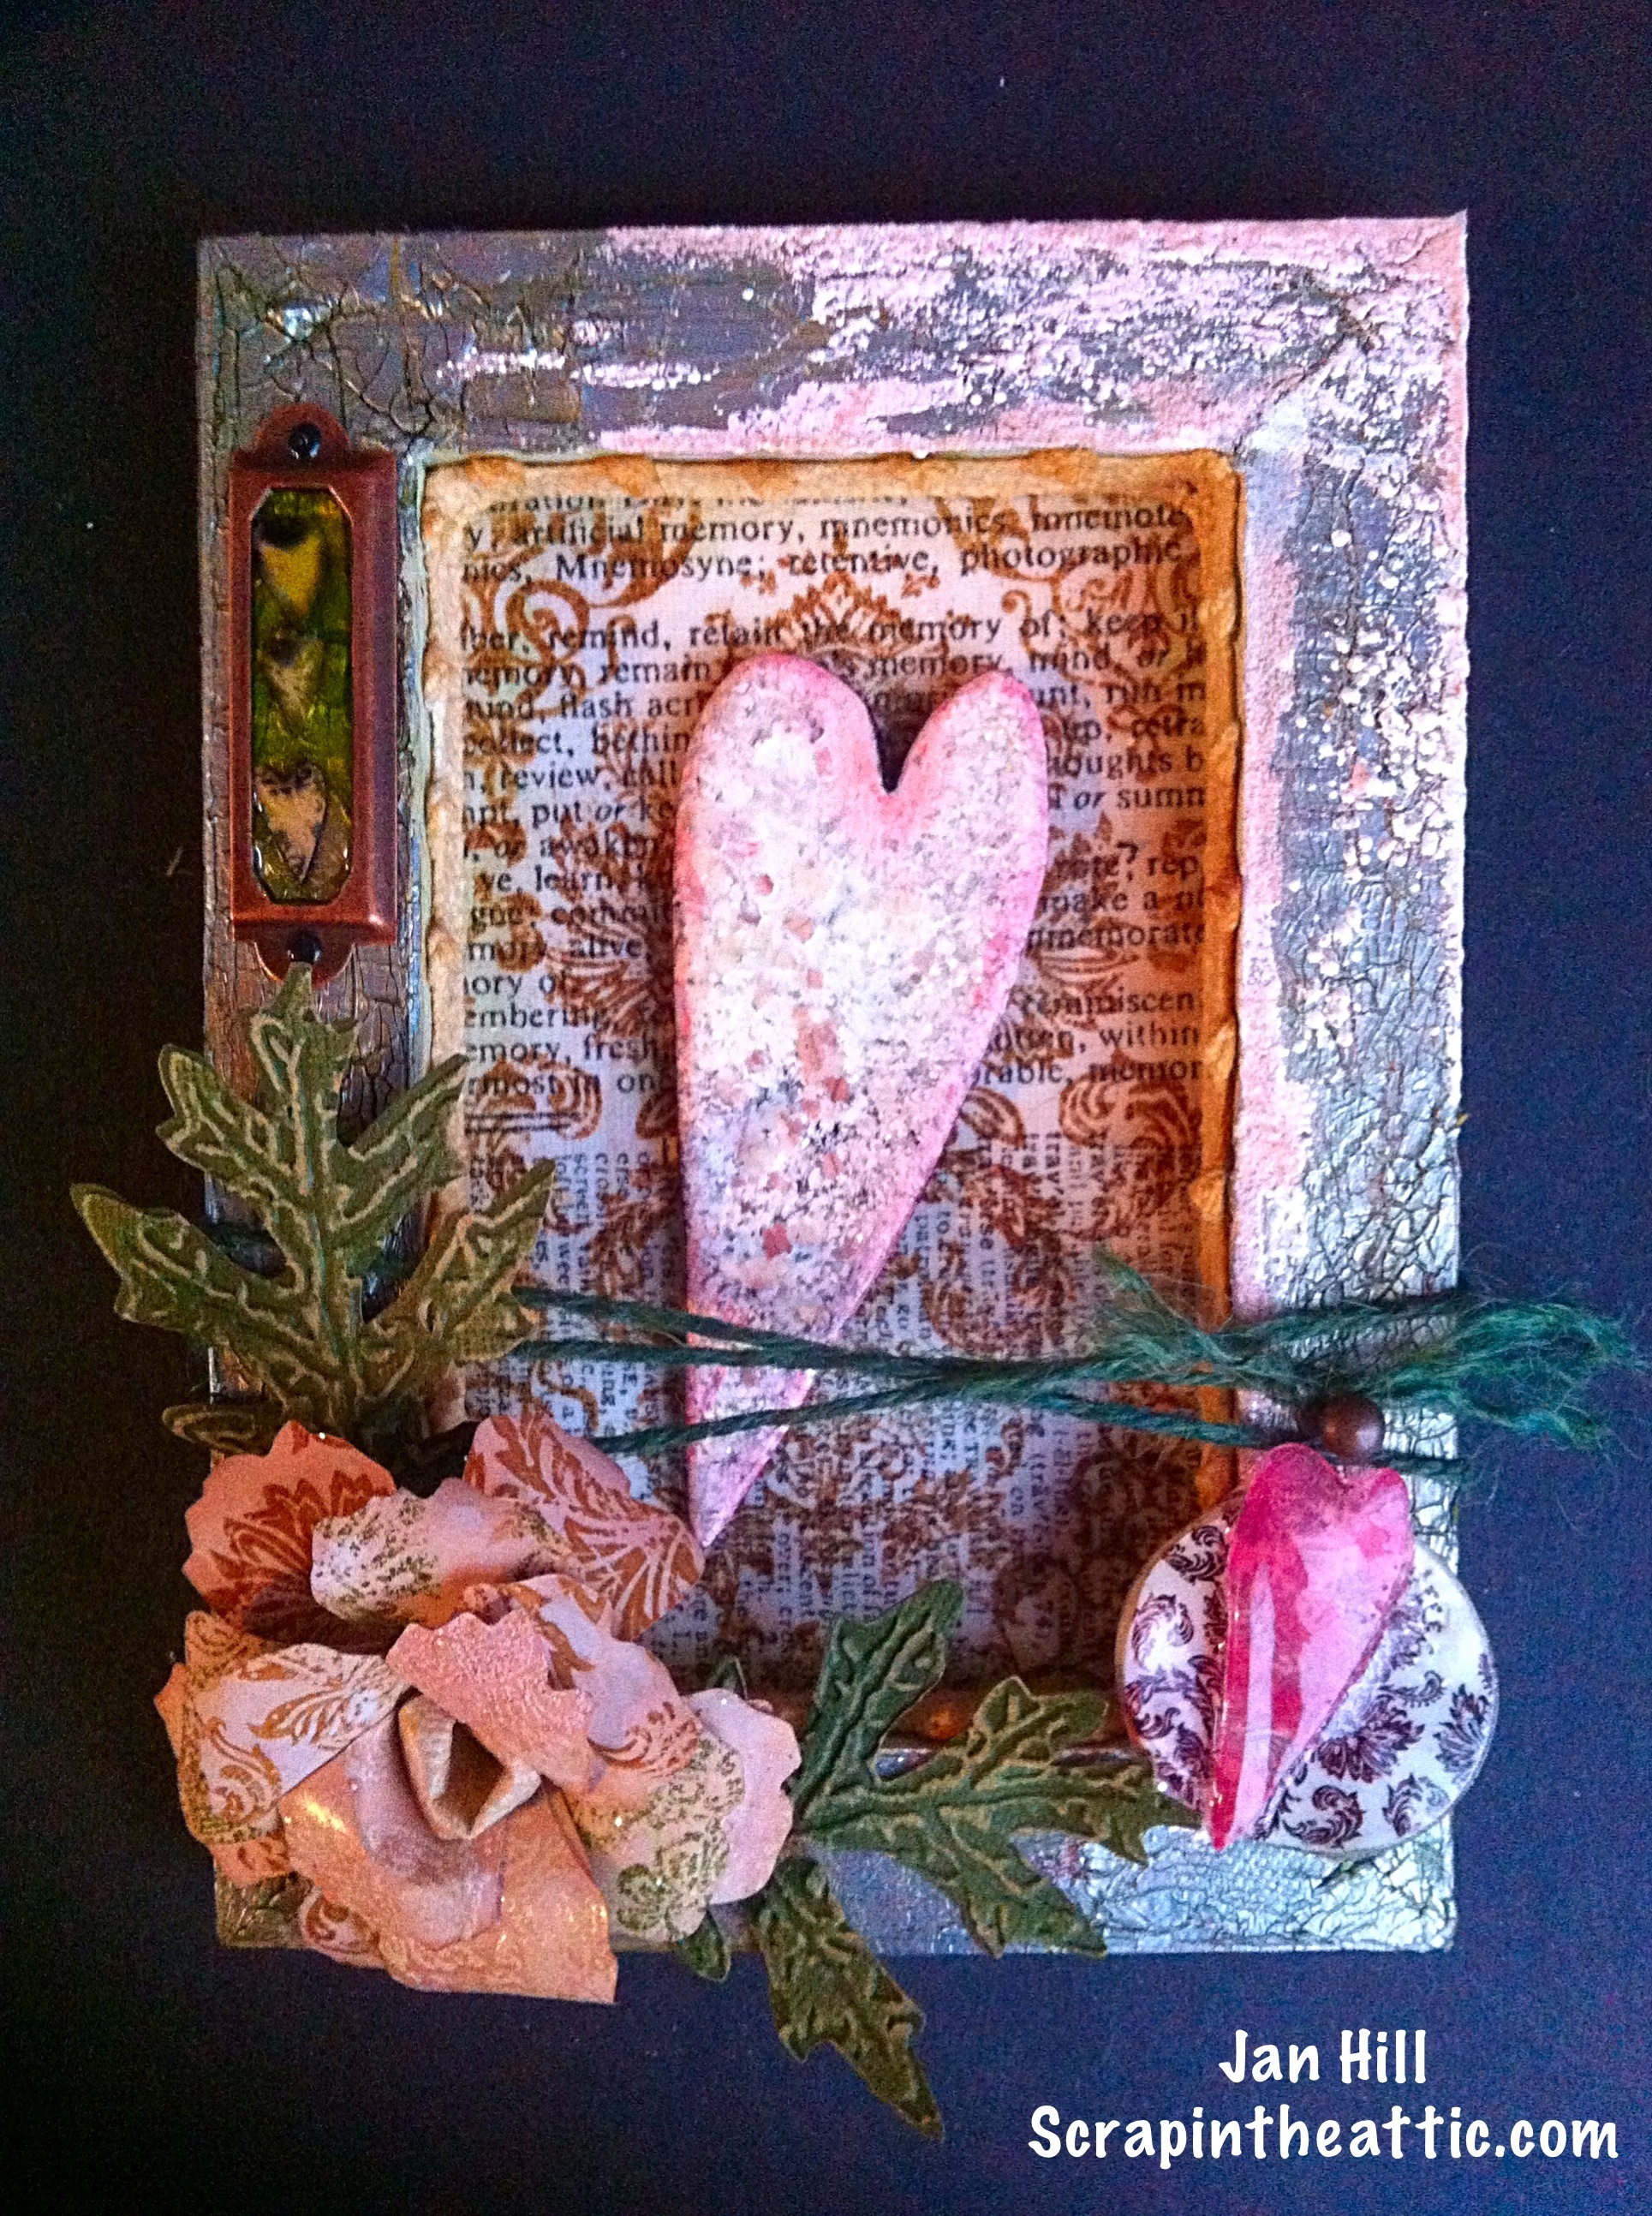
I chose: Embossing Powder, Stamping, Lace and Twine from the grid. I made a Heart Shadow Box to give to my Husband on St. Valentine's Day in February.
 ************************************** 


I loved Julia's challenge and could happily have chosen every segment of her grid, - but that's not the challenge of course, so in the end I chose: the horizontal middle column of Paints, Stamps & Stencils and made this canvas board that in time will be turned into a cover of a journal.

 **************************************


I chose Paints, Stamps and Stencils for this Photoframe in vintage style.

**************************************


Choosing between vertical and horizontal line I finally decided to use a diagonal line: Lace, Twine, Ribbon etc; Stamps & Embossing Powders.....I made a mixed media tag, stamped and an embossed pear rounded with twine. Hope you get some inspiration.

**************************************


I chose Paints, Stamps and Stencils for this card which celebrates painting, to be sent for a birthday  this month.

 **************************************

I chose crackle paint, metal and stamps and created this hanging 
in gorgeous rusty colours. 

 **************************************

Pamellia
 

 I chose Paints, Stamps and Stencils to create this wall hanging for my craft room. A little spring and a little bling to brighten up my space. 


Wow, thank you so much for making these gorgeous projects for my challenge! I'm sure you can't fail to be inspired by the wonderful art created by the Girls today!! 

If you want to know any further details about any of the creations you see here today, then please click the link on the designers name - they would love to have you visit! 


 *********************************************


Our wonderful sponsor this month is:


The people at Tando produce some amazing products which can be altered any way you choose


Watch out for two DT Spotlights this month featuring products from Tando 


If you are one of our entries that get picked by random.org this month you will receive a generously donated gift from Tando!

If you are picked as the overall winner of this challenge you will be given a badge for your blog, you will be invited to feature something you have made in a Top Talent post and you get to answer some questions so that we can find out more about you!

If you are one of our Top Three you get a badge to display on your blog and the picture of your creation will be proudly displayed on the OCC Pinterest page


Can't wait to see what you come up with and remember - HAVE FUN!!

Julia xx

Tuesday, January 27, 2015

Meet Umberto, the strongest man of Donaustadt!

Servus, hello and welcome to Our Creative Corner!

Today I am not only excited because I want you to meet Umberto, who is the strongest man of Donaustadt (which is the district I live in in Vienna), but also because this is my first post as the Resident Guest Designer of OCC, working alongside one of the most amazing DTs in crafty blogland - which is such an honour and always so inspiring to me!

If you haven't checked out the introduction of our new members I recommend you click HERE and see for yourself! Laura has managed to put together a most brilliant team of talented ladies! But maybe you have already seen and admired the fab projects they all made for the first challenge for this year, which is hosted by lovely Pamellia (and can be found over HERE).Then you will surely know why I am so excited ;)

Pamellia suggested we should all use leftovers from Christmas wrappings, gift boxes and other Christmas bits we all love to hoard. So I decided to join in and use one of the emptied parcels that some of the presents I bought online were shipped in (as I love that particular cardboard)!

Christkind (aka DH) brought me some fab Sizzix dies (from the latest Sizzix Sale) and among them was a die that is originally meant to cut parts for a moveable garden fairy that I hadn't seen used anywhere in blogland before. And to be honest I don't like or do garden fairies or fairies at all (although I always see their little houses in the forest on my hikes)...but I immediately saw the potential of that die: it is just perfect for die cutting body parts for jumping jacks in one go. I LOVE jumping jacks and it is so easy to customize the die cut parts (by manually cutting some parts off and/or altering their shapes) so they would fit with my ideas of proportions or head shapes and even get slightly different parts each time!

So this is Umberto:


He is wearing an original swimsuit from the time around 1900 to the 1920s and he stems a weight of approx. 440 lb (200 kg) as if it was Grandma's shopping bag! While lifting this incredible weight he does ten knee bends in a row without his face getting red. What a man! And look at his well trimmed moustache! *sigh


What will you need to make your own Umberto?

- DecoArt Americana acrylic paints: Light Buttermilk, Alizarin Crimson, Navy Blue, Charcoal Grey
- DecoArt Americana multi surface Metallic "Gold"
- DecoArt Americana Decor Chalky Finish paint "smitten"
- Decou-Page matte and/or Antique

- Sizzix "Moveable Garden Fairy" die (or cut your parts free hand)
- thin but strong cardboard (packaging leftovers)
- some old dictionary pages
- scissors, small hole punch, soft brush with fine tip
- tiny brads
- two corks
- black wire, pliers
- tissue paper scraps
- thin thread and a small bead
- white Sharpie (optional) 
- something to use as a palette for mixing the colours on

First cover a piece of cardboard with some old dictionary paper using the matte or Antique Decou-Page. Let dry. Then cut out the jumping jack parts using scissors or the Sizzix die.

Then create a wash of Chalky Finish paint "smitten" (= dilute heavily with water) and paint the parts with it.


Lay the dried parts into positon and lightly sketch the outlines of Umberto's swimsuit, the belt, his face and shoes. You can even erase mistakes without damaging the painted surface.


I already had an idea of Umberto's face before I cut the fairie's hair off and gave the head a new shape including the ears and hairstyle I wanted Umberto to have. But you can as well do it the other way round and sketch first and then cut off any excess.


There's actually no right or wrong when doing his face (as we are not aiming for any naturalistic painting. The quirkier the better!) - so there's no need to be afraid! It also helped me a lot to browse old photographs of that time to get an idea of the funny suits, moustaches and hairstyles back then. So here is the link to my pinterest board where I collect old photographs which I love to use as a reference.


Umberto's face was coloured by first painting the hair and moustache (with Charcoal Grey), then painting the white shape of the eyes (with Light Buttermilk) and then using "smitten" chalky finish paint with a drop of Alizarin Crimson to paint the shades of the nose, around the eyes and the ears. The lips were painted using a mix of Alizarin Crimson, a tiny bit of Charcoal Grey and smitten. For the highlights on the nose, chin and forehead I added a tiny bit of Light Buttermilk to the "smitten" and I used Navy Blue for the iris colour.

I used a soft fine detail brush and switched to a slightly larger soft brush for painting Umberto's suit. You can see all the colours used for painting in the image below:


I then painted the upper part of the suit with the Alizarin Crimson and afterwards the pants with the Navy Blue. Once that had dried I added the white belt and stripes with Light Buttermilk. Shoes and socks were painted with Charcoal Grey and Light Buttermilk.

For painting the belt buckle I used the multi surface metallic "Gold" and the fine detail brush.


To add the reflection to the eyes I used a white Sharpie pen, but you can as well use the small brush and the Light Buttermilk acrylic paint. Make sure you place both white dots slightly out of center and identically - this will make Umberto's looks less "staring".


To build the jumping mechanism flip Umberto over and punch a small hole into the upper legs as shown in the picture:


I inserted a piece of thread in both holes (using a threading device) before I fixed the legs to the body. Once all was in place I tied the upper legs together so that the thread was tightened while the legs were in a relaxed (straight downward) position. I then tied a separate thread to the center of the connecting thread (see picture) and tied a small pearl to the lower end for a pulling grip.

Next I did the weight that also works as the hanging mechanism. I cut to size a piece of soft but thick wire and gave it a loop right in the centre (using a pair of pliers). Both ends were stuck into two corks and these were painted with Charcoal Grey and set aside to dry.


Then it was time to assemble Umberto with the tiny brads and add the hanging mechanism!
To fix Umberto's hands to the wire of the weights I used two tiny scraps of tissue paper which I generously dipped into some matte Decou-Page and stuck to the back of his hands and the wire.


I hope the image above explains what I mean: the weight of the cardboard hands (and whole Umberto being attached to them) resting on the wire keeps them in place and even gives a little pressure -  and the tissue paper scraps fix it all from behind. I left it all to dry this way and didn't move it until I was sure the Decou-Page had dried thoroughly!

After I had trimmed of the tissue paper excess (which you can see on the image above) it looked like this:


I then painted the two brads that connect the upper legs to Umberto's body with Navy Blue and dried all with my heat tool (as I tend to be very impatient).


I added some rough cord to the wire loop so Umberto can be hung (sorry, Umberto!) in place. Done!


See how he's doing his knee bends while still lifting this incredible weight!
You shouldn't try move his arms though - as the tissue paper will tear. It is strong enough to hold Umberto in place and to withstand the pulling when he does his knee bends but it won't resist a rotating motion!


I hope you like Umberto and his moves! And I can already imagine some other strong men to follow... ;)
Hugs and happy crafting,
Claudia xxx

http://ourcreativecorner6.blogspot.co.at/


Saturday, January 24, 2015

Nicecrane Designs Sponsor Spotlight


Hello dear crafters, Ana here and I am so pleased to bring you the first Sponsor Spotlight of 2015!

This month we are sponsored by wonderful Nicecrane Designs
They have a huge assortment of gorgeous digital images and I really had a hard 
time choosing a favourite one to use...

Well, finally I decided on this gorgeous steampunk collection...

http://nicecranedesigns.com/index.php?main_page=product_info&products_id=858

Isn’t this collection just beautiful?...Who doesn’t love gears, watches and balloons?! Here is what I came up with...a little, old looking book full of gears...


If you like it and if you would like to try something similar, here are the steps through the process:
 

First I printed Nicecrane Designs images in two sizes. 
I like the barometer image and for me almost look like a clock so I decided that I will use it that way. 
I took the bigger image and cut the centre out, then I put it on old book and trace around it, so I knew where to cut. 
I cut the book and applied E6000 glue on one side. Because I wanted the pages to be stuck together well, I used clamps and left everything overnight to dry. 


Then I started making covers...
I like recycling so I used some old chocolate box and cut 3 pieces, slightly bigger than my pages were. 
I put it together, left the space between (thicknesses of the cardboard), then attached with masking tape. 
I attached the crushed tissue paper with Mod Podge and let dry.
 Then I used dark brown, black and a little bit of gold acrylic paint and paint the covers. When the paint was dry I used gold embossing powder on the edges and also with stamp on the back side. 
If you will try to make something similar, don’t worry if your tissue paper will lift up during heating the embossing powder, you can use Mod Podge and seal the covers again. 


I took bottle cap and place it in my Big Shot (sandwich with one tab and two acrylic plates), so the edges turned outside. 
My bottle cap had a plastic fill inside, which I melted with heating gun and then remove. 
I also used black alcohol ink and sand paper, so I reached old, used look. 
I took two filigrees and cut them on half, then attached them to bottom of bottle cap. 
I used the centre of smaller barometer image and glued it to the bottle cap, and then everything attached to the front cover.
 I applied the Glossy Accents on the image and left to dry.


My book pages were already glued, so I measured and cut the circles on the pages, then burn the edges. 
I left few whole pages and there I glued beautiful clock machine image, also purchased at Nicecrane Designs
I used some old gears and distressed them with alcohol inks, then glued the randomly on the circle edges. 
On the first page I glued my focal image – barometer.
 Once again I applied E6000 glue on side of the pages and attached them to the covers....left to dry and taaa daaa...the book was finished....


  ...do you like it? 

Would you like to have some great images from Nicecrane Designs?
....visit them and choose some wonderful images....

 http://nicecranedesigns.com/

If you like Nicecrane Designs then why not enter our current challenge - one lucky entrant will receive a voucher to spend on Nicecrane images - What a wonderful treat!

And of course you could always be the winner of the challenge and be invited to be our Top Talent. You could be basking in the spotlight right here at Our Creative Corner!

All you have to do is enter the 'Christmas Leftovers' challenge hosted by Pamellia - Come and share your Festive Leftovers with us!