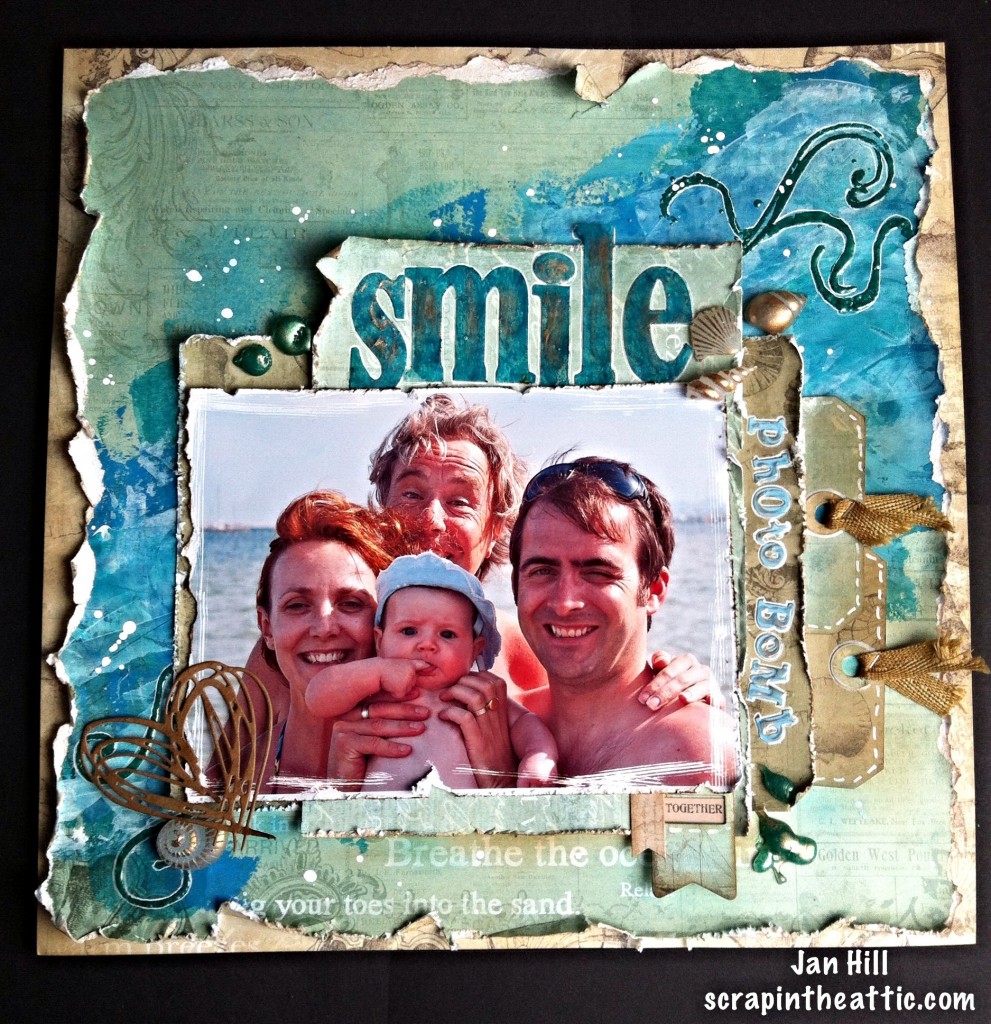
Hi there everyone, Jan here!
I am so excited it is my turn to choose the Guest Designer.
I am delighted to introduce you to the amazing Brenda from Bumblebees and Butterflies.
She always inspires me with her creativity and beautiful pieces. This lady is the Queen of Vintage and Distress. There are so many gorgeous things to look at on her blog.
It is a pleasure to read how she makes and shares her creative process.
I will hand over to Brenda to amaze us with "What makes her smile".
******************************************
I'm so pleased to be joining you at Our Creative Corner today with a
mixed media canvas that has so many things on it that make me smile.
When Jan invited me to be a guest I was preparing to go away on holiday and of course that made me happy, but when I came home I needed to spark the mojo again so I decided to write a list of some of those smiley things that I love to use in my work, particularly those of the art kind.
Here's some of those I included - vintage/shabby, heritage photos, trinkets/idea'ology, butterflies, pen nibs, rust, wire, 3D, Tim Holtz, photo booth, collage, numbers .......... you get the picture?

When Jan invited me to be a guest I was preparing to go away on holiday and of course that made me happy, but when I came home I needed to spark the mojo again so I decided to write a list of some of those smiley things that I love to use in my work, particularly those of the art kind.
Here's some of those I included - vintage/shabby, heritage photos, trinkets/idea'ology, butterflies, pen nibs, rust, wire, 3D, Tim Holtz, photo booth, collage, numbers .......... you get the picture?
One
of the things I love reading about on the blogs is how people go about
creating their designs - - - as they go along, in their heads, sketched
in a journal - - - there are just so many ways and if you are anything
like me you may well have tried a number of these, but there is one way I
can honestly say I never do and that is have a picture of the finished
project in my head before I begin - it just doesn't happen for me. I
tend to have an idea of where I am going and for this project it was
canvas, mixed media, layers, vintage and repeating some process steps
that I have been teaching recently - so lets follow my train of thought.
.................................
I
wanted to used die-cuts to lay down some texture but I knew I needed to
have an idea of my layout first so I began to gather elements together
laying them on the canvas building the design until I had an idea of
what it might look like. Now this isn't to say this is how it will end
up (as it didn't) but it sure does give me my starting point. You can
see I was also thinking about what final embellishments I might go for,
but as you can see some of them changed too.


Whilst
the crackle was drying I started on the cameo frame gluing three card
pieces together to give some depth. I then gave it a coat of gesso and
dried it, a coat of cerulean blue, then some watery washes of prussian
blue hue, cobalt turquoise and phthalo green-blue. When dry I blended
walnut stain distress ink all over, flicked it with some water and dried
it to get a slightly distressed look and sealed it with glue 'n seal.

I gave the ornate frame three coats of gesso drying between each and when perfectly dry I daubed a little glue and seal in a few places with my finger and also let that dry. I mixed a small amount of phthalo blue-green with translucent white and gave it a watery wash then rubbed over it with a babywipe and some mottle white areas appeared as the glue and seal made a resist. Next I text stamped over it with watering can archival ink and sealed it with glue and seal.

Next on to the embellishments - adding some tiny photos and remnant rubs to the film strip .....

.... messy painting and dipping the bird cages and then inking the edges with walnut stain (these were cut from a muffin wrapper) ......


....
painting the long arrow, rusting the pen nib and putting the heart
charm and tag label pendant together with paint and treasure gold.

Back to the canvas and I added some of the acrylic paints I was using, mixing them with water, daubing a little on the canvas and spritzing allowing the colour to run and seep into the cracks and crevices.


Here
we see layer 1 on the left with the elements from the Tim Holtz Trellis
framework die, inked with walnut stain distress ink and adhered to make
a textured background. I gessoed around the tessellated shapes but not
over the pieces as the card picks up the paint better without it. On the
right is layer 2 where I have added a babywipe painted coat of
cerulean blue, cobalt turquoise hue and phthalo green-blue DecoArt media
fluid acrylics, keeping the colours very pale and watery.
I
have used two of Tim Holtz's stamps to create layer 3 on the left,
stamping with black archival ink randomly over the canvas. In wanting
something a little more feminine I then used the Tim Holtz flourish die
with DecoArt white crackle paste to make layer 4. Now you can start to
see the depth building.
I gave the ornate frame three coats of gesso drying between each and when perfectly dry I daubed a little glue and seal in a few places with my finger and also let that dry. I mixed a small amount of phthalo blue-green with translucent white and gave it a watery wash then rubbed over it with a babywipe and some mottle white areas appeared as the glue and seal made a resist. Next I text stamped over it with watering can archival ink and sealed it with glue and seal.
Next on to the embellishments - adding some tiny photos and remnant rubs to the film strip .....
.... messy painting and dipping the bird cages and then inking the edges with walnut stain (these were cut from a muffin wrapper) ......
....
using Tim's altered surfaces technique in his Compendium of Curiosities
III to achieve this chippy paint look on a numeric alpha part.
Back to the canvas and I added some of the acrylic paints I was using, mixing them with water, daubing a little on the canvas and spritzing allowing the colour to run and seep into the cracks and crevices.
Finally
I started to put the design together, but as is usual with me, I was
not happy with just the bits I had chosen to embellish the canvas and
more was needed. I had thought I wouldn't put a back on the cabinet
frame but the lovely photo booth picture looked lost with a very busy
background and the piece of wood I had got out in the beginning to link
the top and bottom focus areas just didn't work at all so I used a strip
die to cut something more ornate and just dabbed it with some of the
paints to achieve this distressed look. The flower is metal and acrylic
again given some painty splodges to bring the colours into this very
monochromatic appearance.
So finally I put all the elements together - here are some close ups.
There are three main focal points to the canvas, the top cabinet card, collage elements and photo booth picture .....
...
the central section that 'connects' the top right and bottom left, thus
creating balance and harmony to the overall piece and .....
.... the bottom left section that is smaller in size but still balances the overall composition.
I
loved stamping over the small parts from the Trellis frameworks die, it
provides additional interest to some of the pieces ....
.... as does the crackled flourish.
The
darker brown of the ornate strip seems to provide that additional
contrast in colour that was needed to my eye, and although it is a more
elaborate piece it still seems to fit with the busy background of
.......
.... colour, crackle and stamping.
I
added the heart and flower to take away the starkness of the rigidity
of the straight ornate strip, it too needed some variation in line.
So
I think I got all but one of the smiley things in from my list and
loved every minute making it. I hope you enjoy looking at it and
hopefully it will make some of you smile too.
My
thanks again to Laura, Jan and the team for having me. Don't forget Jan
has chosen this fabulous theme so I hope you will be able to pop to the
challenge post to see the wonderful samples from the design team and hopefully join in with a chance to win a package of Tando goodies.
hugs
Brenda
xxx
Wow, wow, wow Brenda, how amazing to see your creative process step by step. I can't stop smiling! There are so many different ideas to try, the layers, depth and interest are fantastic. I could just keep looking for ages. I love all the tiny details that build up the canvas and add so much to the finished piece.
Thank you so much Brenda for accepting the Guest Designer invitation for June.
I am certainly inspired and hope you will join in the challenge for this month.
I look forward to smiling at your creations!
Hugs
Jan x